
Repotting a bonsai is one of the processes that raises the most questions among those responsible for its care, especially for beginners in this fascinating world who simply want the best for their plant, with the aim of ensuring it remains in optimum health and can achieve outstanding development and growth. It is not only about the tree looking attractive, but about it being in good condition at every time of the year.
On this note, spring is just around the corner. We are at a moment when the bonsai finishes its winter dormancy and prepares for budding. You guessed it—this is when you should repot. So that you know exactly how to do it, at Zoka we bring you a step-by-step guide to repotting your bonsai. Follow these instructions and it will turn out perfectly!
Take note of how to repot your bonsai step by step!
Before going into the process itself, remember that proper planning is essential. What we mean is that it is very important to have all the necessary equipment ready to hand. This will allow everything to be carried out more smoothly and the tree will suffer less stress.
As you know, a bonsai is delicate and can easily experience stress, which may reduce its vitality. Gather the pot, substrate, pruning shears, rake, mesh, wire and sprayer, and you will be ready to begin.
Now then, this is how to repot your bonsai step by step:
1- Remove the bonsai from the pot: This must be done with great care and gentleness to avoid harming the tree.
Once removed, eliminate the old substrate using a stick and take the opportunity to untangle the roots. Do not rush—take your time and work delicately.
2- Prune the roots: This is key to maintaining the ideal size of the bonsai. You should remove any damaged or rotten roots, as well as those that are excessively long or thick. Focus on this carefully.
If you prune too much, you will weaken the plant. Only carry out the necessary trimming. Keep the fine roots, as these are the ones that favour proper nutrient absorption.
3- Prepare the new pot: What should you do here? Place mesh over the drainage holes so that the substrate does not escape, and try to use a couple of wires through those same holes to secure the bonsai properly. Then add a small base layer of substrate at the bottom of the pot. This will promote adequate drainage.
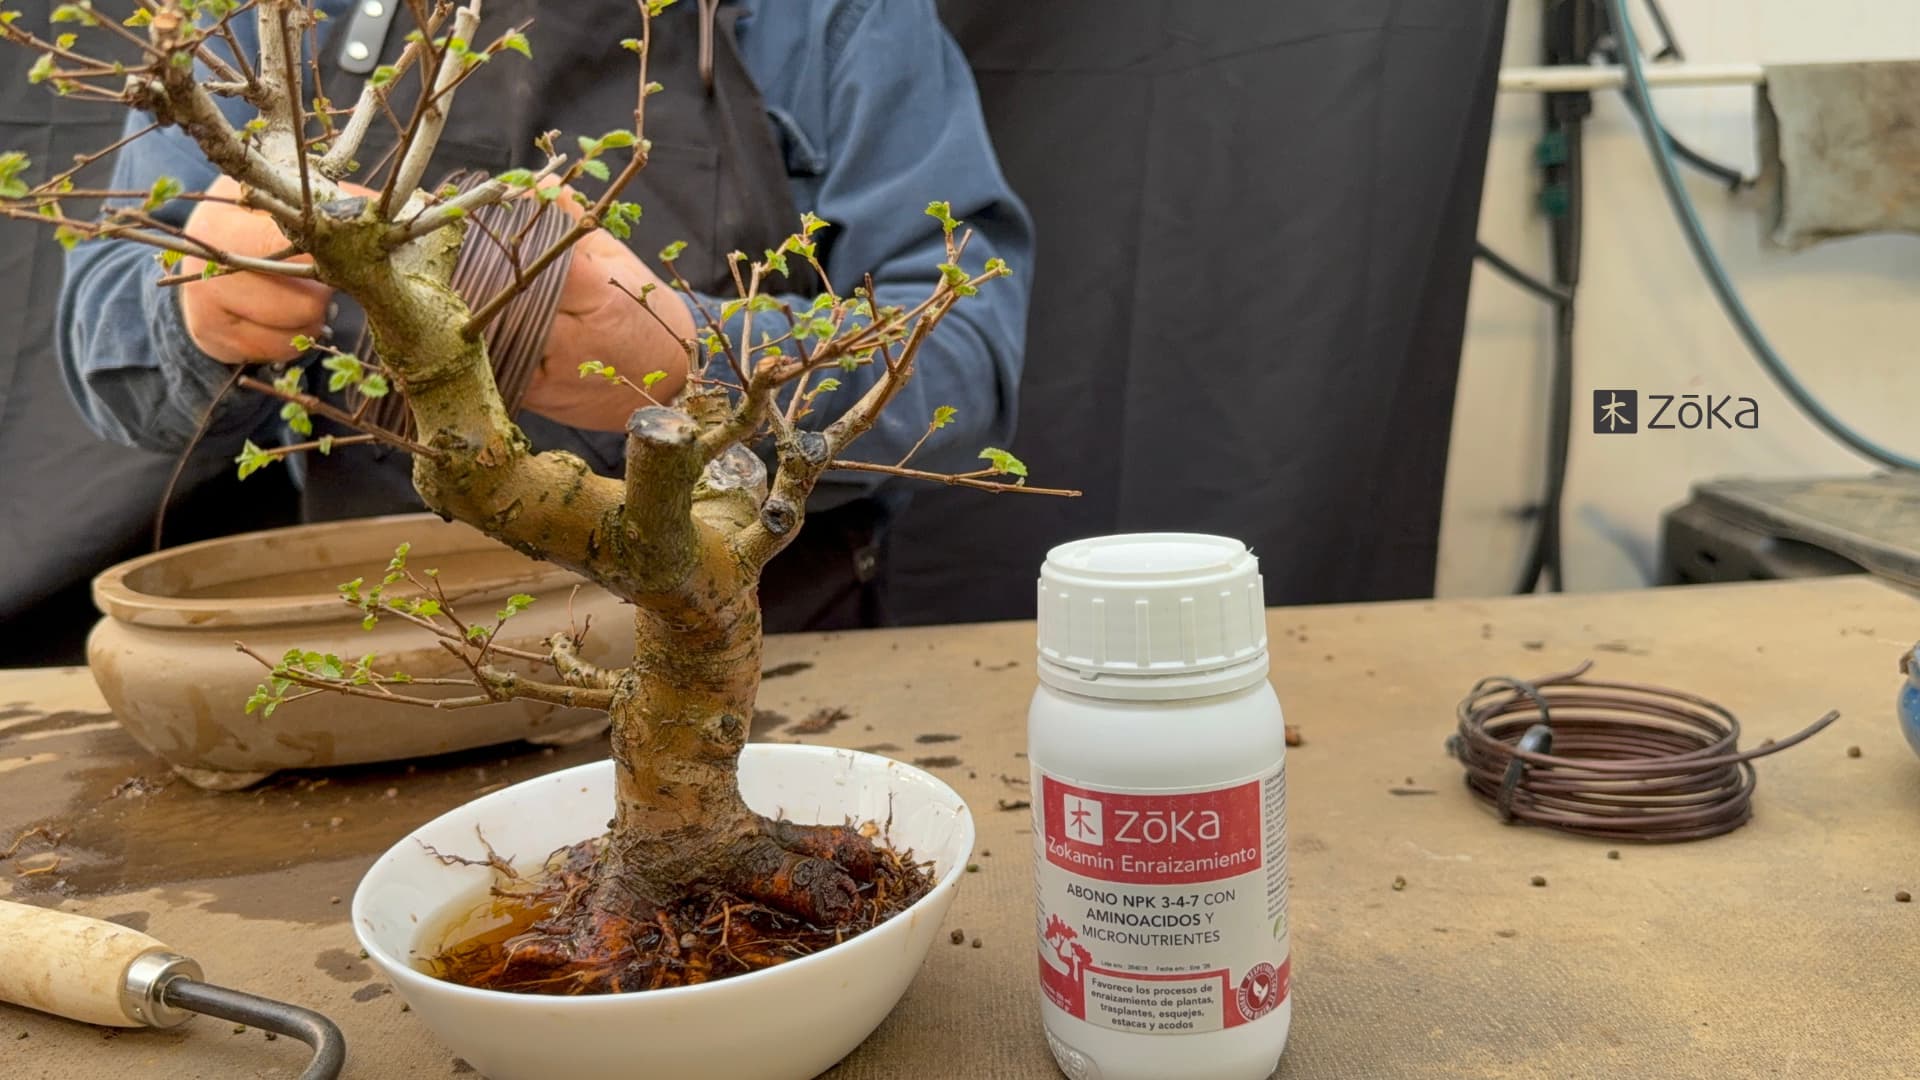
At this point, our fertilisers take centre stage. Prepare a solution of Zokamin Rooting, always respecting the recommended dosage, and immerse the roots in it.
4- Position the bonsai correctly: Place the tree on the substrate layer at the bottom of the pot. Set it in the correct position, adjusting its inclination and orientation so that it has a natural appearance. Secure the plant to the pot with the wires to ensure it does not move while it develops new roots.
5- Add the substrate: Do this gradually around the roots until the pot is filled. Afterwards, use a stick to press the substrate and eliminate any air pockets. This will ensure the roots have full contact with the new soil.
6- Water: This is done primarily to settle the substrate and promote root hydration. This watering should also be carried out with Zokamin Rooting to achieve maximum effectiveness. Water until it drains and runs completely clear.
With the entire process completed, all that remains is for you to continue caring for it as you always have, providing the attention it needs. Keep it protected and it will settle perfectly. It will be your perfect companion!